
So today we’re going to be playing with a dress. I found this dress at a thrift store and I really liked it – the problem? Really, really immodest!

The dress was way too short (not to mention that it had a slit
in the front), so I added some length, then for the finishing touch I added
some sleeves and took in the top a bit as it didn’t fit quite right. I started
with taking the top of the dress in, normally all you have to do is sew the
side seams in a bit, but this one had a thing in the back, so I just brought it
in a bit by getting rid of the buttons and sewing them together.


Then on to the front slit. All I did was tear
out the stitching that held the fabric back and the hem, ironed them flat, and
sewed the slit down in line with the existing seam.


So now I could lengthen the
dress by adding some fabric to the bottom (I added black because I thought it
was the best color). There are a few different ways one can do this – one can
add a straight piece of fabric (just sew a strip to the bottom of the skirt),
add a ruffle (cut a really long strip, stitch with a really, really big stitch
all the way along the top, pull the seam and it gathers, then sew it to the
dress) or add a flounce. Personally, I thought the dress was simply screaming
for a flounce. You make a flounce by cutting out a curved piece, I cut out a
circle (based on a pattern piece, I’m not a great free hander, but it does work
fine if you don’t have a piece to work off), but you can make it more or less
curved (you just have to make more than one piece and sew them together) depending
on your preference.

I hemmed the outer edge by surging the edge and turning it
under;

then I pinned the flounce to the bottom of the dress with the right
sides of the fabric together

and matched up the two sides and the middle of the
front and back and sewed them together and then surged that seam (you don’t
have to do this, but finishing the seam will make it so that it won’t
fray in
the washer and dryer).

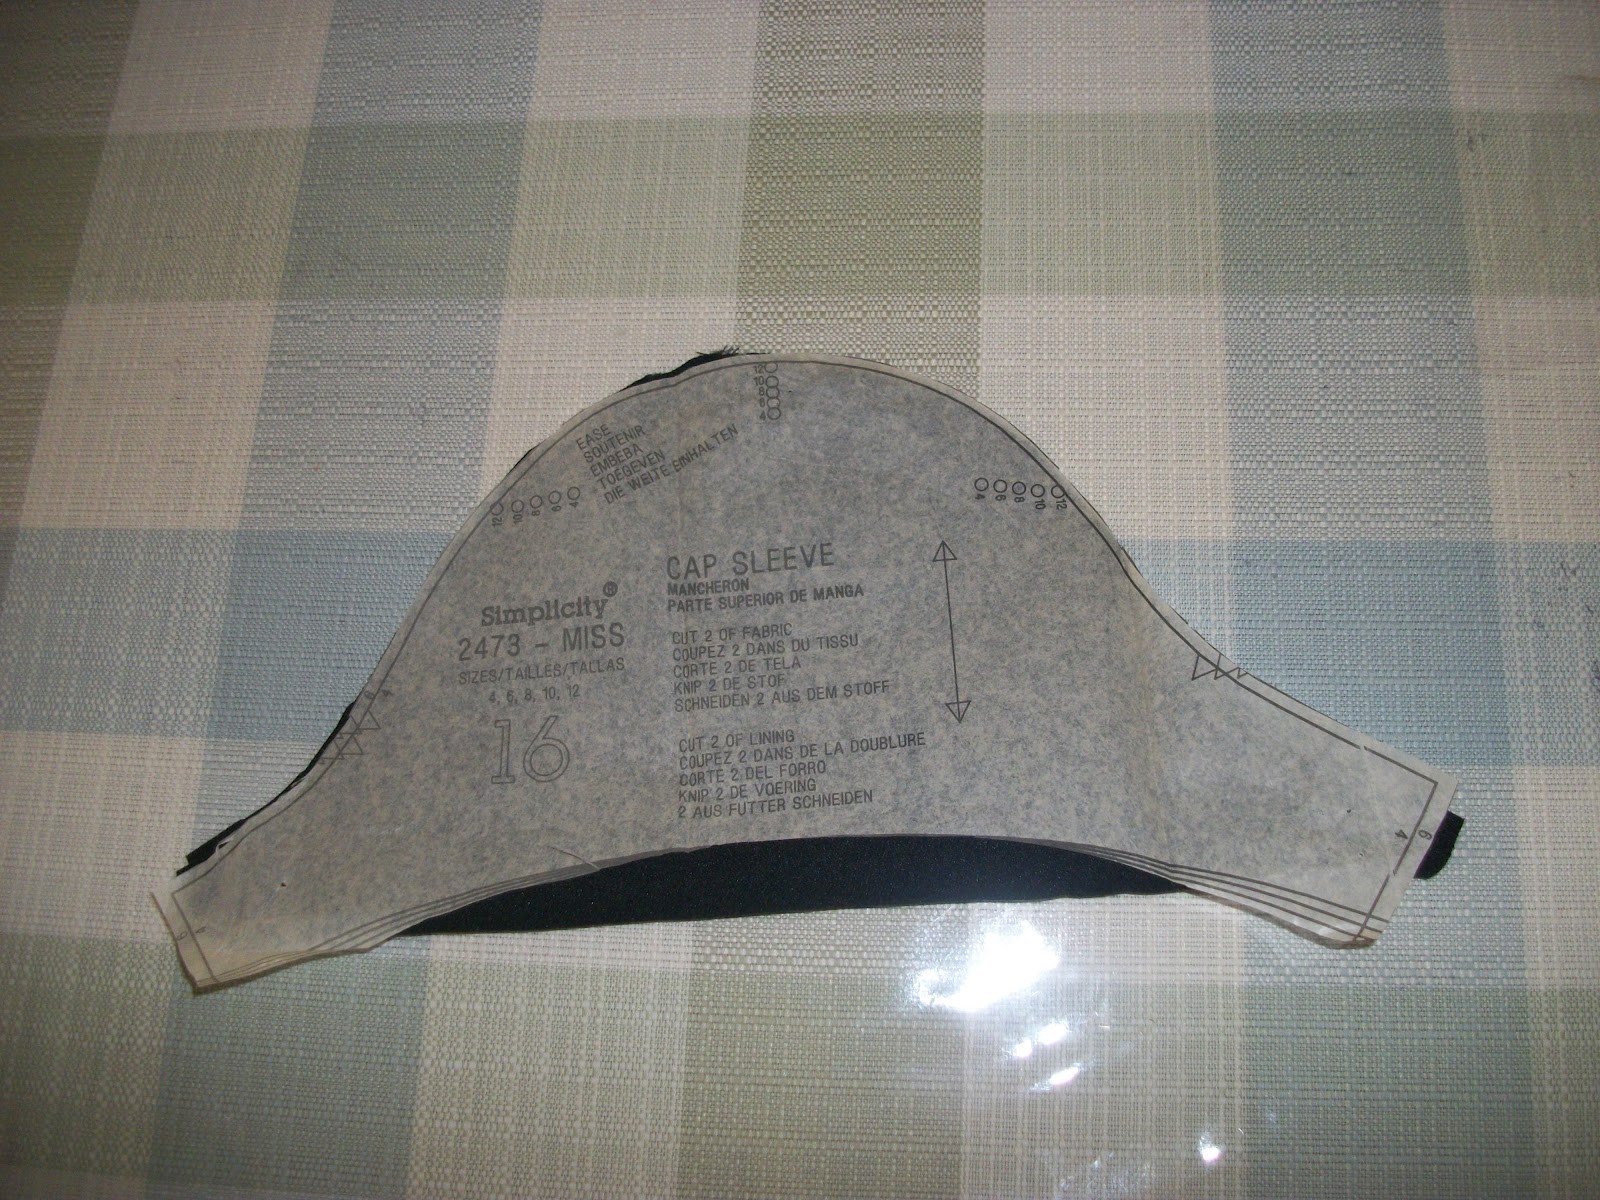
Then for the sleeves I took a sleeve pattern piece from
one of my patterns (it’s nice to have a few of them on hand and if you wait for
sales on them at places like Joanns, they only cost like a dollar or two) , but
I cut it on a fold, so the sleeve was two piece of fabric thick, but the folded
edge meant I didn’t have to hem it and plus, I rather liked the look of the
folded edge J
Then I just sewed the two ends of the sleeves together, took out the finishing
stitching of the armholes and sewed the two together matching the tops and
bottoms together. And there you go!

Cute cute! I love buying stuff and fixing it up. :)
ReplyDeleteThanks for starting your blog, I'm sure it will help many who strive to dress pleasing to God. :)