Monday, April 30, 2012

Quick Fix for a Casual Spaghetti Strap Dress


Alright everyone, I would like you to meet my cousin. She had found this dress at the thrift store, but, as you can see, it was not exactly modest :) Anyways, here is what we did to fix it. First we cut off the straps.


Then stitched down the back where the zipper was (which means this works a whole lot better if your dress is a bit big on you) and cut that off.

Our next step was to take a regular t-shirt (no point in getting an elaborate one really as you're only going to see a little bit of it). You try the t-shirt on, mark where the dress needs to sit, pin the two together


and stitch along the top of the dress. Then because you don't want the t-shirt to unravel you need to zig-zag over the stitch you just made (I used the zig-zag stitch to attach some cute trim, but forgot to take a pic of that... however, you can see the trim in the finished project).


Then cut off all of the un-needed part of the t-shirt - no point in having more layers than you have too.


And here we have the finished product :)


Here's another variation on the same idea. I had this strapless dress that was simply too short, but I thought it would make a cute shirt.


I sewed it to a white t-shirt. Figured how long I needed to keep it and cut the rest off.

Then I hemmed the bottom - by evenly folding up the bottom once, fold it over again and sew along the bottom.


And here that is.


Tuesday, April 17, 2012

My Little Black Dress :)


Here's another dress I found on the same trip as the last one, and the problems with it are rather similar as well. The dress was cute, but way too high, had a slit, could benefit from some sleeves and on top of that it was too low. Well, being that I had so many dimensions that needed to be added too, I decided to give the dress some color - I don't know how well you can see it, but I bought some lavender gauze with black and white flower thingys on it. I got about a yard of it at Joanns (again, the place has awesome sales and coupons pretty much all of the time) and started playing :)


Naturally, before I could start adding pretty lavender fabric onto the dress, I had to make it so that I could add onto it, which meant I needed to close the slit up. Being that the edges of the slit overlapped, all I needed to do was line them up and stitch along the edge of the top one - the second picture shows it done - which was nice and simple!

Then to lengthen it I decided to make a ruffle. All you have to do for a ruffle is cut a long piece (or more than one piece like I did) of fabric that is just a bit taller than you need/want added onto the length of your dress. Then you just sew them together (with right sides matching) and make a big circle. Then you need to finish the bottom of the ruffle, you can hem it like I did with the last dress, but being that I was using gauze, which is a really thin, slippery fabric that simply doesn't like to be hemmed (or maybe it just doesn't like me hemming it, it might like you), I just did a really thin serger stitch along the bottom. Then you need to do some finishing on the top so the fabric doesn't unravel, so just like a zigzag, or regular serger seam. Whew, that was a rather long winded explanation :) Anyways, here's what it ended up looking like.


Next you need to gather the ruffle, in other words, make the stitches as long as you can on your machine, stitch right along the top of the ruffle and leave your threads long. Then you pull either the bottom or the top thread and the fabric bunches. As this ruffle is on the bottom of a dress, you will have to do quite a bit of pulling (it's okay if you do too much). Then you pin the ruffle to the dress matching the middle front and back and the sides - I put the ruffle behind the dress and just sewed along the top so the ruffle laid nicer. Whichever way you want to do it, make sure you start sewing on the end of your gathering stitch so if you bunched the fabric too much or too little you still have the other end of the stitch to work with!


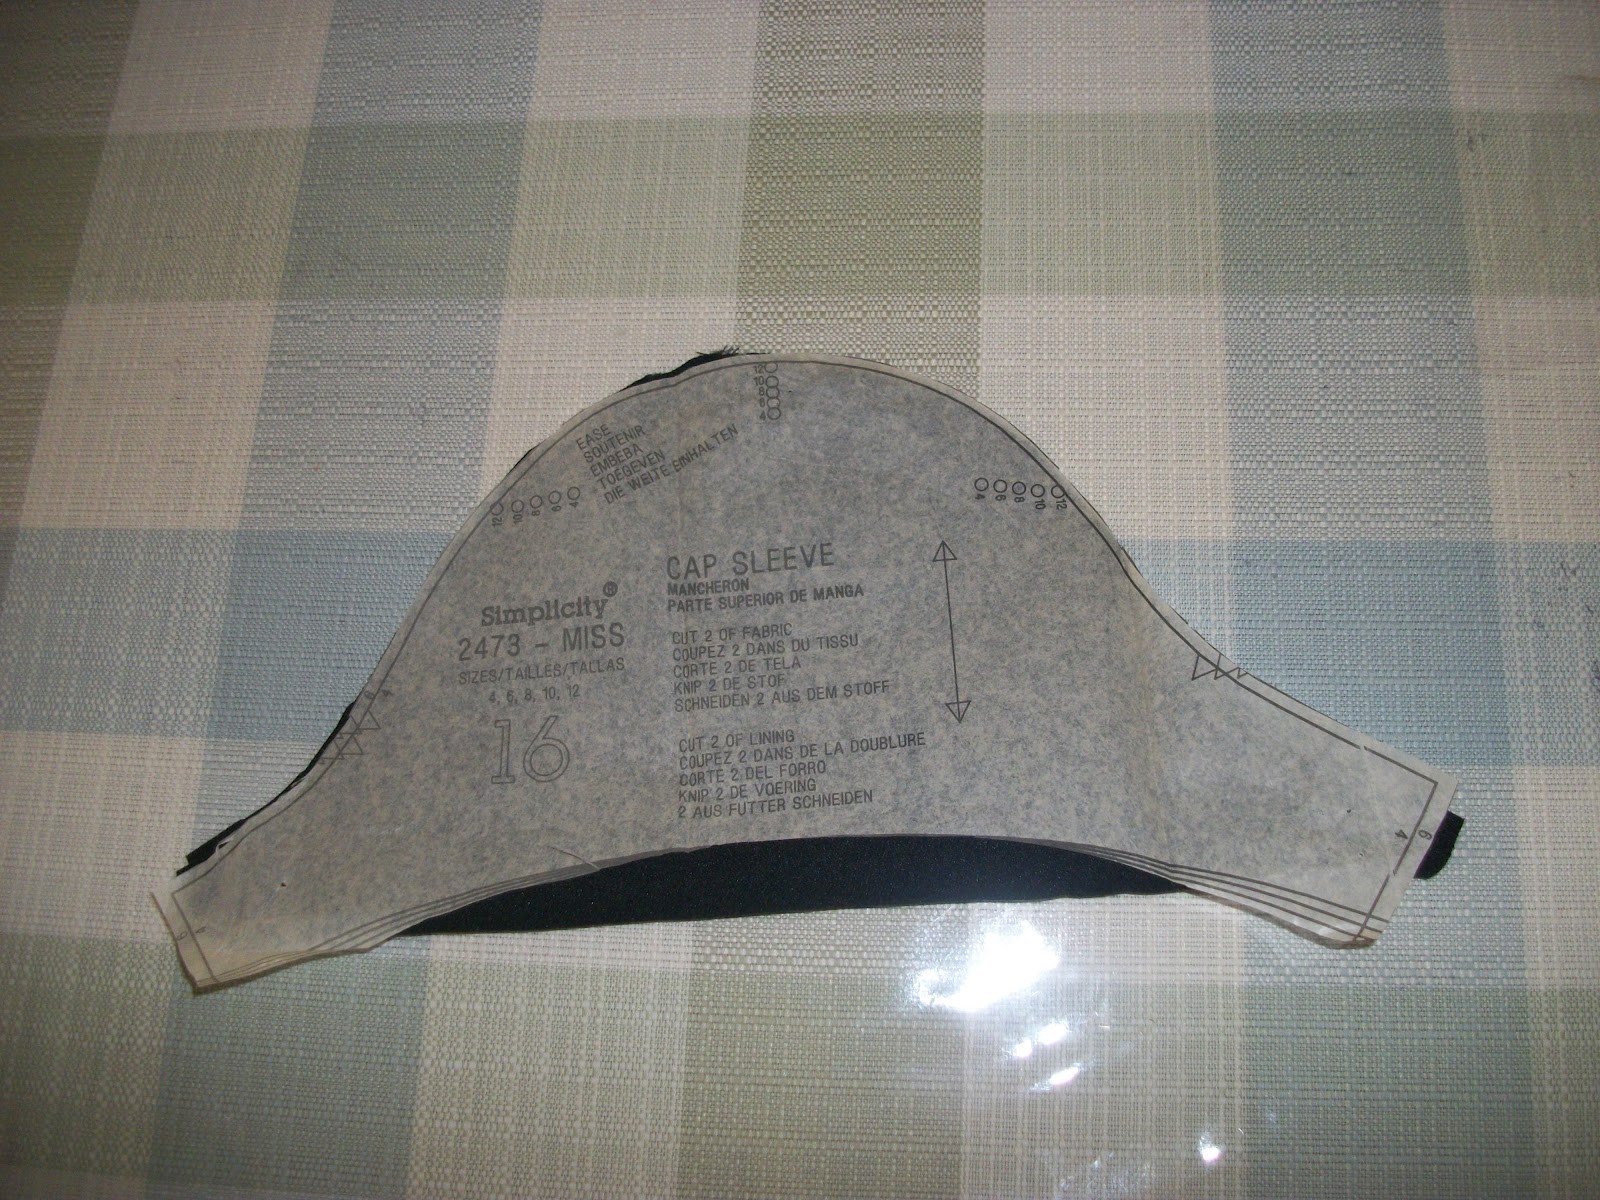
Okay, now onto the sleeves. I picked one slightly puffed because I thought it would look nice with the ruffle, which just means I took in some tucks, pinned them, so they got sewn in when I did the finishing seam on the bottom of the sleeve. Then I sewed the ends together and finished the top of the sleeve with a larger serger seam. Now match the tops and bottoms of the sleeved with the tops and bottoms of the armholes (depending on which type of sleeve you want to do, you might have to gather the top of the sleeve a bit to make it fit, puff or whatever) and stitch them together. I just did the same thing with the sleeves as I did with the ruffle, put the finished edge of the sleeve slightly under the dress and stitch along the top.

Last, but not least, the dress needed some neckline attention! You could just stich a piece of fabric or some lace across the top like we did with the first shirt, but I wanted to do something with some dimension. So I cut a rectangle just slightly wider than I needed and much taller than that and finished the four sides. Then I gathered the sides and bunched them as tightly as I could and sewed it to keep it in place. Then, because I didn't want any stitching on the neckline of this dress, I bought some sticky velcro dots, put one side on the ends of the insert and the other on the inside of the dress.

And there we go! - a much more modest (and colorful) version of the dress :)

Tuesday, April 10, 2012

What to do With a Short and Sleeveless Dress


So today we’re going to be playing with a dress. I found this dress at a thrift store and I really liked it – the problem? Really, really immodest!


The dress was way too short (not to mention that it had a slit in the front), so I added some length, then for the finishing touch I added some sleeves and took in the top a bit as it didn’t fit quite right. I started with taking the top of the dress in, normally all you have to do is sew the side seams in a bit, but this one had a thing in the back, so I just brought it in a bit by getting rid of the buttons and sewing them together.  
Then on to the front slit. All I did was tear out the stitching that held the fabric back and the hem, ironed them flat, and sewed the slit down in line with the existing seam.

So now I could lengthen the dress by adding some fabric to the bottom (I added black because I thought it was the best color). There are a few different ways one can do this – one can add a straight piece of fabric (just sew a strip to the bottom of the skirt), add a ruffle (cut a really long strip, stitch with a really, really big stitch all the way along the top, pull the seam and it gathers, then sew it to the dress) or add a flounce. Personally, I thought the dress was simply screaming for a flounce. You make a flounce by cutting out a curved piece, I cut out a circle (based on a pattern piece, I’m not a great free hander, but it does work fine if you don’t have a piece to work off), but you can make it more or less curved (you just have to make more than one piece and sew them together) depending on your preference.


I hemmed the outer edge by surging the edge and turning it under;


then I pinned the flounce to the bottom of the dress with the right sides of the fabric together


and matched up the two sides and the middle of the front and back and sewed them together and then surged that seam (you don’t have to do this, but finishing the seam will make it so that it won’t
fray in the washer and dryer).


Then for the sleeves I took a sleeve pattern piece from one of my patterns (it’s nice to have a few of them on hand and if you wait for sales on them at places like Joanns, they only cost like a dollar or two) , but I cut it on a fold, so the sleeve was two piece of fabric thick, but the folded edge meant I didn’t have to hem it and plus, I rather liked the look of the folded edge J


Then I just sewed the two ends of the sleeves together, took out the finishing stitching of the armholes and sewed the two together matching the tops and bottoms together. And there you go!

Thursday, April 5, 2012

Fixing a Low Neckline


Okay, so I figured we would start out with something pretty simple. How many times have we gone to the store and found a really cute top, tried it on and found that it was just a bit too low – you know how it is, we think, I’ll just wear another shirt underneath. This is a great thing for winter, but does anyone really want to wear an extra layer during the summer when it’s 100 degrees outside? I know I wouldn’t! Here is a blouse I found at Wal-Mart (until you get rather comfortable messing around with a piece of clothing, I really recommend buying something cheaper – thrift stores are great – so you don’t feel awful if you mess up – trust me, it happens) with this problem.

What I did was simply add a bit of fabric across the top. All you have to do is find a little piece of fabric – or heavy lace - that looks nice with the shirt (I used brown) and cut a piece that is just over twice the height you need to raise the neckline and slightly wider also (for lace, just cut a piece slightly wider than you need, after all, you already have a nice finished edge with lace J). You fold the piece of fabric in half with the right side (or front side) out


then do some sort of finishing stitching around the three unfinished edges (so it doesn’t unravel when you wash it), if you have a serger, that works great, if not, just do a tight, close-together zig-zag stitch.

Then you pin your piece of fabric to the shirt and just stitch along the three edges where it touches the shirt with a matching thread (a lot of times shirts already have stitching there and you can just stitch over it so you don’t add another line)

and Voila! In no time at all, you have cured your neckline problem for good!


So, just got a few dresses at the thrift store, so over the next few weeks we will be playing with dresses! J So we will be playing with adding onto necklines, hemlines and even adding sleeves!!